How to crop a circle in OpenCV? Implementing Portrait Bokeh - Part 2
Contents
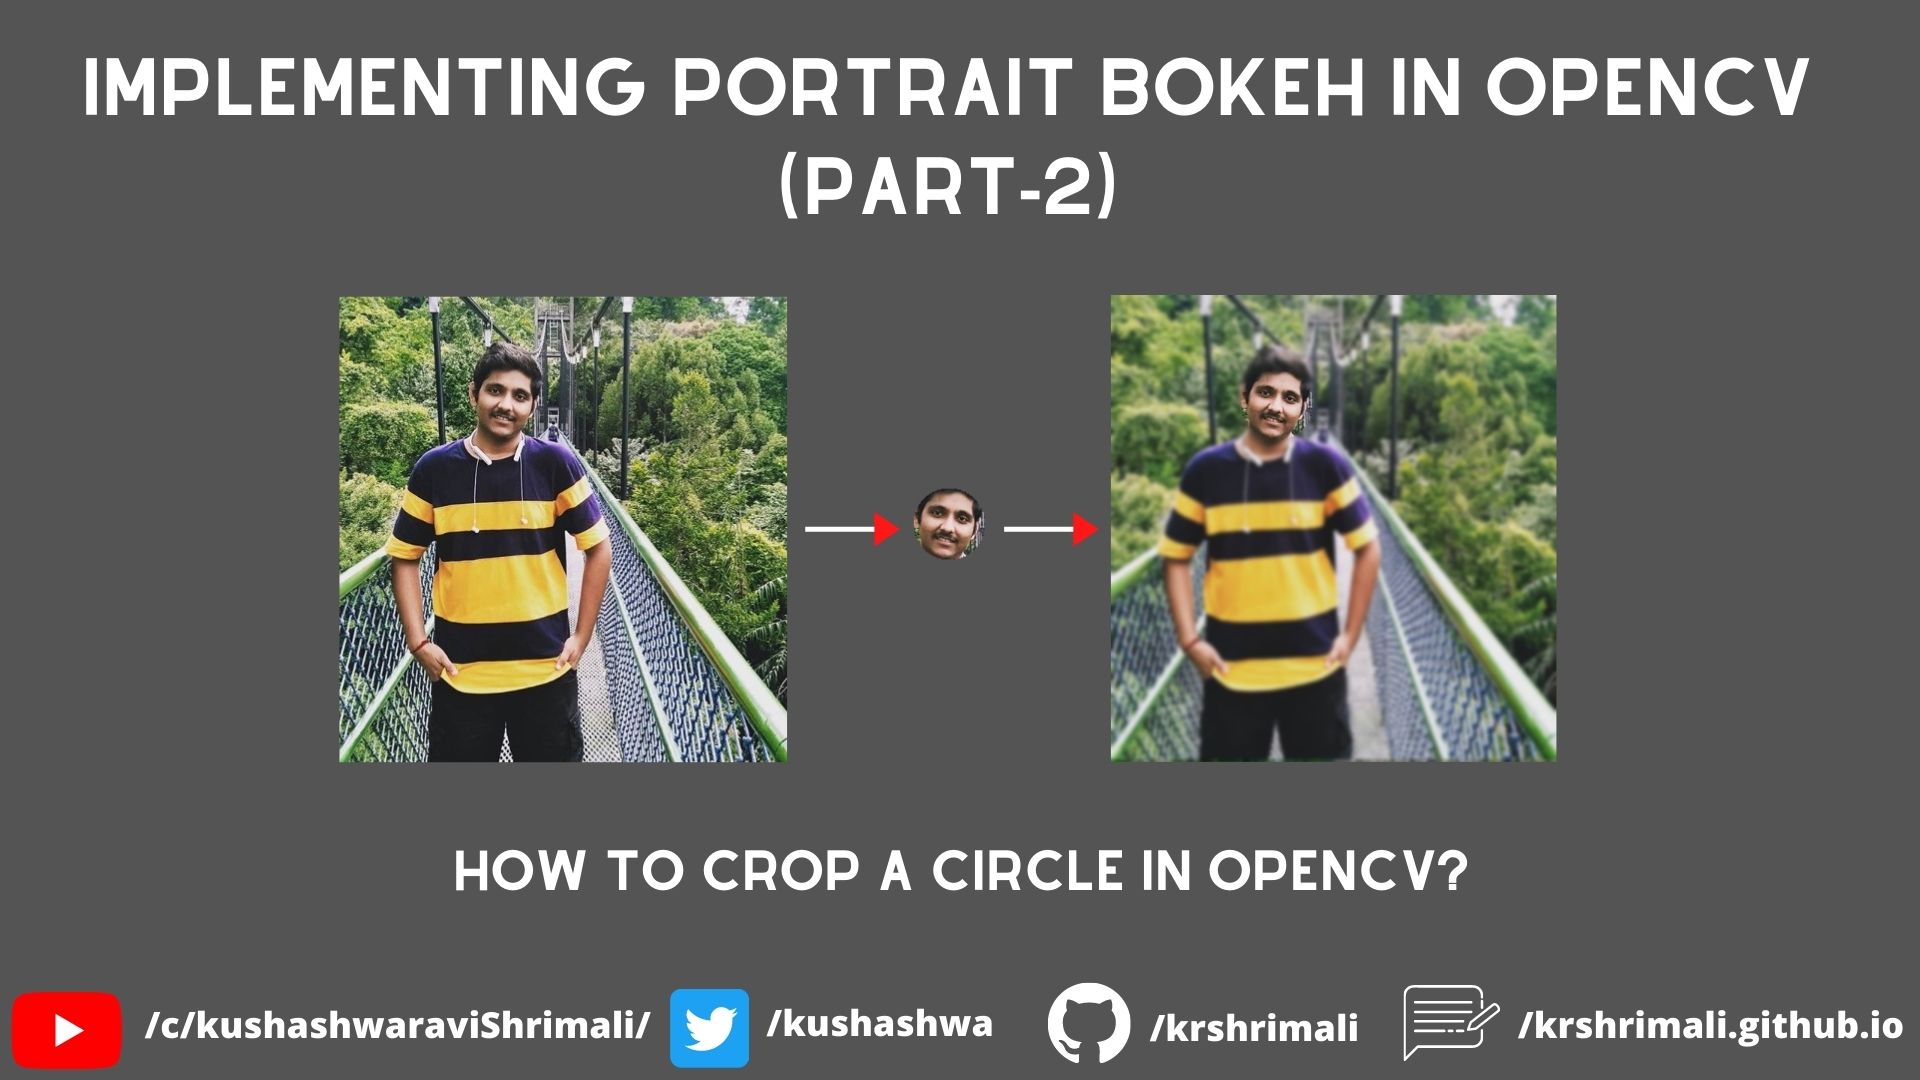
Hi everyone! In the previous blog we implemented Portrait Bokeh using Face Detection in OpenCV. While the results were good for a start, we definitely want to be closer to the output we expect. The end goal is to blur everything except the face. The main problem we noticed was:
- The face cropped was a rectangle, and it was clearly visible in the output result.
To overcome this, we will be talking about cropping a circle in OpenCV today. This will enable us to get rid of “some” of the background noise we got earlier, for Portrait Bokeh. Let’s take this step by step, and first talk about the intuition.
Intuition behind cropping a circle
while pixels are just the brightness values for each channel at a particular coordinate, so you can’t really get half of the pixel and crop an exact circle. But the closest we can get to cropping a circle, is to imagine a circle circumscribed in a rectangle (face detection algorithm in OpenCV - CascadeClassifier returns a rectangle - can be a square as well). So if we are able to get a circle from our output of face detection (a rectangle), we will be closer to what we want.
But how do we get started? Clearly, since the circle is circumscribing the rectangle, the closest we can get to finding radius is: max(width, height)/2. While center will be: (top_left_x + width/2, top_left_y + height/2). Once we know these two properties of the circle, we will now have the circle equation.
Methodology
Let’s divide this problem statement into steps:
- Get face from Face Detection.
- Get circle circumscribing the face (rectangle).
- Crop the circle and store it in different array.
- Blur the whole image except the face.
Essentially, the main goal is to get the face cropped as a circle. Once we have that, we can simply overlay this on the blurred image. The trick is to figure out on how we can crop the circle once we know it’s coordinates. Let’s talk about it’s solution in the next section.
Cropping a circle
Usually, our images will have 3 channels (colored image): Blue, Green, Red (BGR). How about we add a transparency channel to our image? The idea behind this is to make all pixels transparent which are NOT in the face, and all the pixels opaque which are within/on the face (circle) boundary. The pseudo code for this should look something like this:
# Assuming you got a circle equation representing the face
face = circle_equation

# Now iterate through all the pixel values in the imagge
# Check if the pixel is outside the face, if yes - then make it transparent
# Else - opaque
for pixel_value in image:
    if pixel_value is outside the face:
        # Make this pixel transparent
    else:
        # Make this pixel opaque
        # This will be visible
To have an option to add transparency, you need to convert the BGR input image to BGRA (4 channel image: Blue, Green, Red, Alpha) - here Alpha channel denotes transparency channel. When the transparency is set to 0, that represents opaque and when it’s set to 255, it represents transparent value. Let’s go ahead and use this for our application.
Video Tutorial
I started a YouTube channel where I go live on the weekends, and upload videos on the week days (not so regularly) about Computer Vision, deploying models into production and more. If you haven’t seen it before, please check it out here. For this blog, I have already uploaded a detailed tutorial. Check it out here.
Step 1: Get face from face detection
We have discussed this before, so we won’t go in details but for the sake of continuity, I’ll add the code for Face Detection.
import cv2, sys

# Get image path and read image
img_path = sys.argv[1] if len(sys.argv) > 1 else "sample.png"
img = cv2.imread(img_path, 1)

# Convert to grayscale, since Face Detection takes gray scale image as input
gray = cv2.cvtColor(img, cv2.COLOR_BGR2GRAY)

# Initialize face detector from the model file
face_detector = cv2.CascadeClassifier("haarcascade_frontalface_default.xml")

# Detect faces from gray-scaled image, using default parameters (scaleFactor)
faces = face_detector.detectMultiScale(gray, scaleFactor = 1.1, minNeighbors = 5)

# Note: Format of faces will be: [ [top_left_x, top_left_y, w, h (for face 1)], [... (for face 2)], ... ]
Once you have ROI (Region Of Interest) of the faces in the image, we can go ahead and start cropping a circle (yay!).
Step 2: Get circle circumscribing the face
From Step-1, we got the faces. Let’s iterate through each face, and get the equation of the circle circumscribing that face. As we discussed before in the Intuition section, we’ll have to calculate the radius and center of the face.
# Make sure to convert BGR to BGRA image first
# To be used later
imgTransp = cv2.cvtColor(img, cv2.COLOR_BGR2BGRA)

# Iterate through each face one by one
for face in faces:
    top_left_x, top_left_y, width, height = face[0], face[1], face[2], face[3]

    radius = max(width, height)/2
    center = (top_left_x + width/2, top_left_y + height/2)

    # Cropping circle code will come here
Here, we find the circle contained in the rectangle (closest) for each face. Let’s go ahead and crop this circle one by one, and see how we can use this for Portrait Bokeh!
Step 3: Crop the circle and store it in different array
We discussed the pseudo code of this in Cropping a Circle section of this blog. But before this, we have to figure out: How to find a point is within that circle? Think of this as a simple maths problem where you have to find a given coordinate is inside a circle or not. What would you do?
- Find distance between point and center of the circle.
- If distance is greater than radius, it’s outside.
- If distance is equal to radius, it’s on the boundary.
- If distance is less than radius, it’s inside.
We can simplify this for circle as we know it’s equation: (point_x - center_x)^2 + (point_y - center_y)^2 - radius^2, which will be:
- 0 if the point is on the boundary.
- greater than 0 if the point is outside the circle.
- less than 0 if the point is inside the circle.
Let’s use this concept here:
def is_inside(point, center, radius):
    """ This function returns True if point is inside/on the boundary, False otherwise """
    eqn = (point[0] - center[0]) ** 2 + (point[1] - center[1])**2 - radius**2
    return eqn <= 0

# Iterate through all the pixels in the image
for row in range(img.shape[0]):
    for col in range(img.shape[1]):
        if is_inside(img[row][col], center, radius):
            # Means the point is inside/on the face
            # Make it opaque
            img[row][col][3] = 0
        else:
            # Means the point is outside the face
            # Make it transparent
            img[row][col][3] = 255
We will have to execute the for loop once for each face, which means the code becomes:
# Make sure to convert BGR to BGRA image first
# To be used later
imgTransp = cv2.cvtColor(img, cv2.COLOR_BGR2BGRA)
# Make the whole image transparent, by default
imgTransp[..., 3] = 255

def is_inside(point, center, radius):
    """ This function returns True if point is inside/on the boundary, False otherwise """
    eqn = (point[0] - center[0]) ** 2 + (point[1] - center[1])**2 - radius**2
    return eqn <= 0

# Iterate through each face one by one
for face in faces:
    top_left_x, top_left_y, width, height = face[0], face[1], face[2], face[3]

    radius = max(width, height)/2
    center = (top_left_x + width/2, top_left_y + height/2)

    # Cropping circle code will come here
    # Iterate through all the pixels in the image
    for row in range(img.shape[0]):
        for col in range(img.shape[1]):
            if is_inside(img[row][col], center, radius):
                # Means the point is inside/on the face
                # Make it opaque
                imgTransp[row][col][3] = 255
            else:
                # Means the point is outside the face
                # Make it transparent
                imgTransp[row][col][3] = 0
If you notice, we have 3 nested for loops, which will result into really non-efficient code for HD Images (1920x1080 images? Think of the number of computations happening in this case). Suppose we have 3 faces detected and our input image is 1920 x 1080 (width x height). Total number of times the function is_inside called will be: 3 x 1920 x 1080, which is 6220800 (approx. 6.2 Million or 62 Lacs). It’s a lot!
We can not avoid these loops though, but why iterate through the whole image when you know the circle is anyways gonna be within that rectangle (face)! Imagine the face is 200 x 200 now, and everything remains same (3 faces, HD input Image: 1920 x 1080). If we only iterate through the face everytime, the computations will be: 3 * 200 * 200, which is 120000 (120 thousand or 1.2 lacs). Much better. All we have to do is, pick the face ROI, and iterate through that region. Everything else remains same:
for row in range(tly, tly + height):
    for col in range(tlx, tlx + width):
        if is_inside(img[row][col], center, radius):
            # Means the point is inside/on the face
            # Make it opaque
            imgTransp[row][col][3] = 255
        else:
            # Means the point is outside the face
            # Make it transparent
            imgTransp[row][col][3] = 0
So, the code should look like this:
# Make sure to convert BGR to BGRA image first
# To be used later
imgTransp = cv2.cvtColor(img, cv2.COLOR_BGR2BGRA)
# Make the whole image transparent by default
imgTransp[..., 3] = 255

def is_inside(point, center, radius):
    """ This function returns True if point is inside/on the boundary, False otherwise """
    eqn = (point[0] - center[0]) ** 2 + (point[1] - center[1])**2 - radius**2
    return eqn <= 0

# Iterate through each face one by one
for face in faces:
    top_left_x, top_left_y, width, height = face[0], face[1], face[2], face[3]

    radius = max(width, height)/2
    center = (top_left_x + width/2, top_left_y + height/2)

    # Cropping circle code will come here
    # Iterate through all the pixels in the image
    for row in range(tly, tly + height):
        for col in range(tlx, tlx + width):
            if is_inside((col, row), center, radius):
                # Means the point is inside/on the face
                # Make it opaque
                imgTransp[row][col][3] = 255
            else:
                # Means the point is outside the face
                # Make it transparent
                imgTransp[row][col][3] = 0
Let’s try to visualize imgTransp here and see how this looks like:
This looks good so far! We have cropped the circle (face), and all we need to do now is - overlay this image on a blurred image. Let’s head straight to Step 4.
Step 4: Blurring and overlaying
In Step 3, we were able to crop the circle. But think about this, whenever we know the pixel is inside the face, let’s just replace the blurred pixel with original image.
# Blur the whole image first
img_blurred = cv2.GaussianBlur(img, (11, 11), 0)

# Iterate through the faces we were doing before
# Whenever the pixel is inside, replace the point at img_blurred with original img

# Make sure to convert BGR to BGRA image first
# To be used later
imgTransp = cv2.cvtColor(img, cv2.COLOR_BGR2BGRA)
# Make the whole image transparent by default
imgTransp[..., 3] = 255

def is_inside(point, center, radius):
    """ This function returns True if point is inside/on the boundary, False otherwise """
    eqn = (point[0] - center[0]) ** 2 + (point[1] - center[1])**2 - radius**2
    return eqn <= 0

# Iterate through each face one by one
for face in faces:
    top_left_x, top_left_y, width, height = face[0], face[1], face[2], face[3]

    radius = max(width, height)/2
    center = (top_left_x + width/2, top_left_y + height/2)

    # Cropping circle code will come here
    # Iterate through all the pixels in the image
    for row in range(tly, tly + height):
        for col in range(tlx, tlx + width):
            if is_inside((col, row), center, radius):
                # Means the point is inside/on the face
                # Make it opaque
                imgTransp[row][col][3] = 255
                # Replace pixel of blurred image with original image
                imgBlurred[row][col] = img[row][col]
            else:
                # Means the point is outside the face
                # Make it transparent
                imgTransp[row][col][3] = 0
Note: The only reason we used imgTransp here, is to show how to crop a circle. For portrait bokeh, you don’t need to have imgTransp and transparency channels.
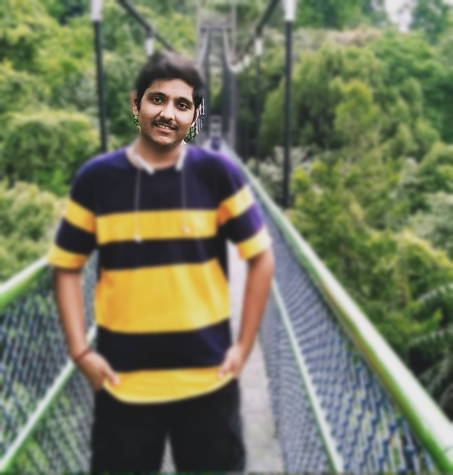
Here is how the output looks like. While I understand that there is still some background, but we can definitely be better than this - and this will be our topic for the next blog!
This should be it for this blog, and I hope you learnt something new today. If you liked the content, please leave a comment below. I would love to read your feedbacks, suggestions and if this helped you out in any way. I also go live on weekends, and upload videos on weekdays on my YouTube Channel, so make sure to subscribe there and join me in if you find it interesting! Thank you for reading this blog.